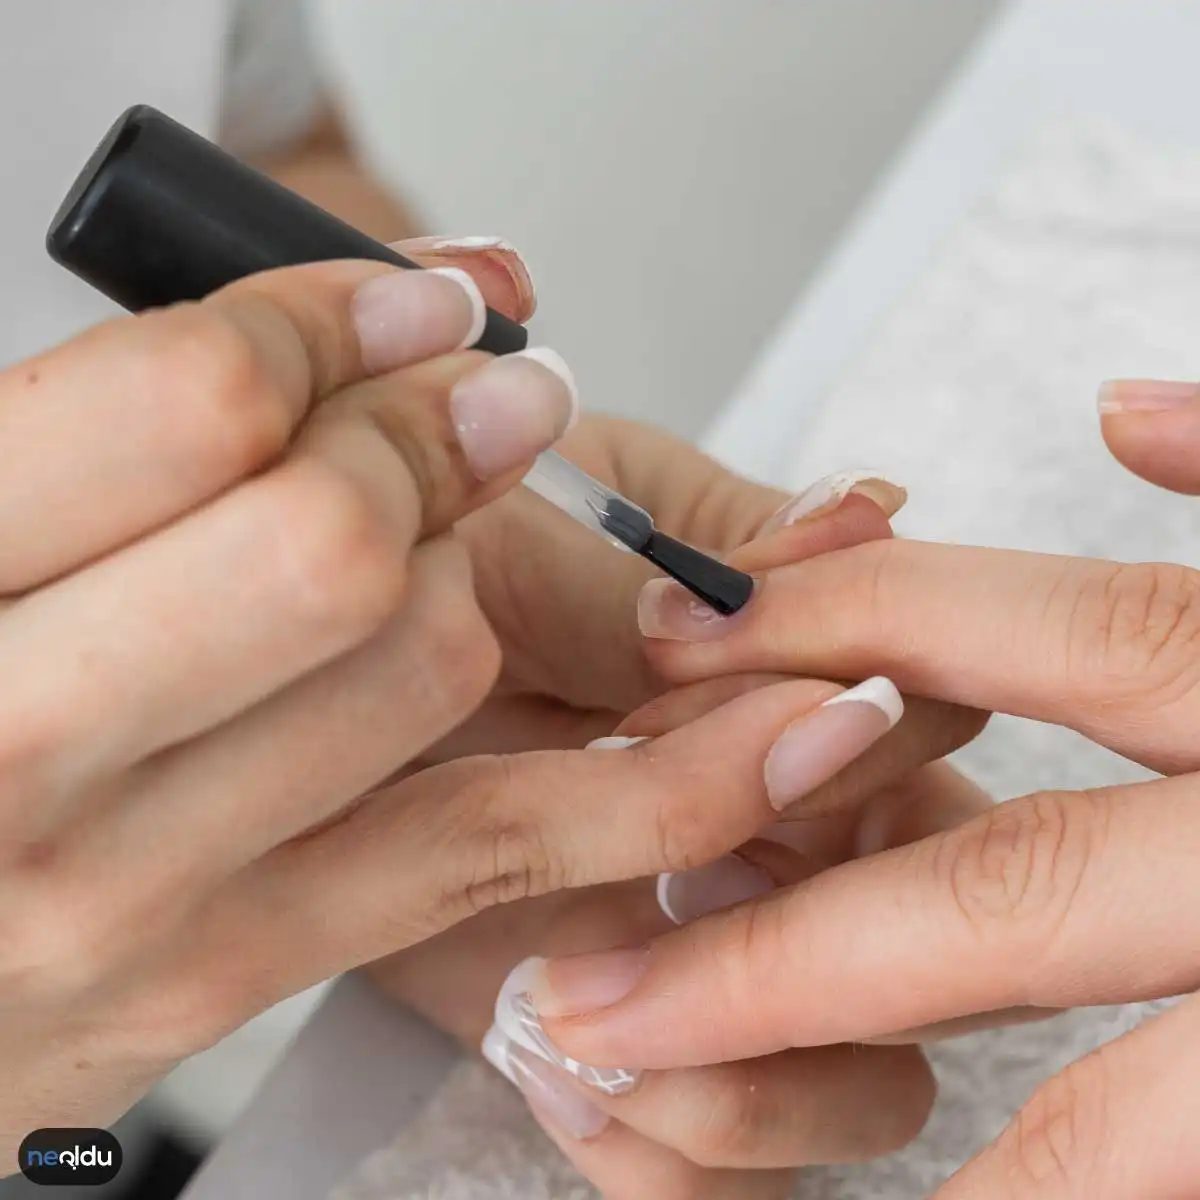
The permanence and durability of magnetic nail polish differs from other nail polishes. Magnetic nail polishes generally last longer and are more permanent than other nail polishes. This is not only an aesthetic choice, but also a practical detail that ensures that your nails remain perfect even in the chaos of daily life. Especially for women who live in a busy schedule, this feature eliminates the stress of painting nails every day.
What is Magnetic Nail Polish and Why Does It Work Differently?
Magnetic nail polish is a special nail care product that takes shape with the effect of a magnet, thanks to the metallic particles it contains. This feature is the biggest element that distinguishes it from ordinary lacquers. While standard nail polishes dry and form a layer on the nail, magnetic nail polishes have a more dense and layered structure. This density makes the color harder to peel off and gives a longer-lasting result.
How Long Does It Take? Share of Truth
Despite many claims circulating in the market, the permanence of magnetic nail polishes directly depends on the quality of application. However, the general acceptance is that, when applied correctly, these products provide a longer answer to the question “How long does magnetic nail polish stay on?” compared to a standard nail polish.
- Standard Nail Polishes: Tend to scratch or peel, usually within 3-5 days.
- Magnetic Nail Polishes: With the correct base and top coat application, it can stay on the nail for up to 7-10 days.
Of course, this period varies depending on your nail structure, the quality of the primer you use and your daily activities (contact with water, cleaning agents).
Tips to Increase Persistence
To fully utilize the potential of magnetic nail polish, simply holding the magnet is not enough. Here are small but effective steps to keep your nails vibrant longer:
- Nail Preparation: Wipe with alcohol to remove oils from the nail surface. This increases the adhesion surface of the nail polish.
- Thin Layers: Applying two or three thin layers instead of accumulated thick layers creates a more durable structure.
- Magnet Technique: It is important not to bring the magnet too close to the nail or too far away. A distance of 1-2 mm creates the most distinct magnetic pattern.
- Top Coat: Be sure to use a high-quality top coat to fix the magnetic effect. This layer prevents the color from oxidizing and fading.
Content and Structure of Magnetic Nail Polish
Magnetic nail polish is actually more than just an ordinary polish. This formula, which contains iron powders, creates unique patterns on the nail thanks to the interaction of magnets. So, what exactly creates this effect?
The iron components inside magnetic nail polish cannot resist the gravitational force of an externally applied magnet. Therefore, when you bring the magnet close to the nail while the nail polish is being applied or while it is still wet, the iron particles move. This movement causes different shapes such as wavy, striped or stars to appear on the surface of the nail polish.

What’s Inside the Bottle
Most people think magnetic polish is just regular nail polish with a gimmick. It’s not. The formula is different. It relies on ferromagnetic pigments suspended in a liquid base. These aren’t just shiny bits. They react to magnets.
The base ingredients are familiar. You’ll find polymers for structure. Solvents like acetone or ethyl acetate keep everything liquid. Colorants provide the shade. Preservatives and UV filters ensure longevity. But the key ingredient is the iron oxide or iron-phosphate pigment. This is what makes the magic happen. It pulls the pigment into patterns when exposed to a magnet.
How to Apply Magnetic Polish Correctly
The application process is where most women stumble. If you rush, you get a mess. If you’re too careful, you lose the effect. The goal is precision and speed.
- Prep the nail. Clean. Dehydrate base coat Let it cure or dry completely.
- Apply one thick coat. Thin coats don’t have enough pigment density. You need a solid layer.
- Hold the magnet. Do this immediately. Before the polish starts to set. Usually within 10 to 15 seconds.
- Choose your pattern. Different magnets create different lines. Cat eye needs a straight edge. Holographic needs a sphere.
- Hold still. Don’t move the magnet. Wait for the polish to stabilize.
- Top coat. Seal it. Use a high-quality top coat to enhance shine and protect the design.
Which Magnet Do You Need?
Not all magnets work the same. The shape determines the pattern.
- Cat Eye Magnet: Creates a sharp, focused line. Best for a sleek, modern look.
- Holographic Magnet: Rounder edges. Creates a softer, more diffuse shimmer.
- Multi-pattern Magnet: Often has multiple edges on one side. Allows for various effects in one bottle.
The distance matters too. Hold the magnet close, but not touching. Usually about 1-2 millimeters above the nail. Too far, and the magnetic field is weak. Too close, and you might get the polish on the magnet.
Why Your Design Fails
If your pattern looks muddy, it’s usually timing. Wait too long, and the polish begins to tack up. The pigment can’t move. It stays scattered. Result: a dull, uneven finish.
If the design looks faint, you used too thin a coat. The pigment needs concentration. Apply a second thin layer only if the first one is fully dry and the effect is weak. But for the magnetic pull, the first coat must be substantial.
Also, check your lamp. If you’re using UV gel, ensure your lamp is powerful enough. Weak light leads to incomplete curing. The magnet might pull the pigment after curing starts, ruining the shape.
Maintenance Tips
Magnetic polish isn’t just about application. It’s about care.
- Avoid harsh chemicals. Acetone-based cleaners will strip the top coat.
- Wear gloves when cleaning. Detergents degrade the shine.
- Reapply top coat every few days if you notice fading.
The effect is striking. It catches light differently than regular glitter. It moves with you. But it requires patience. you can
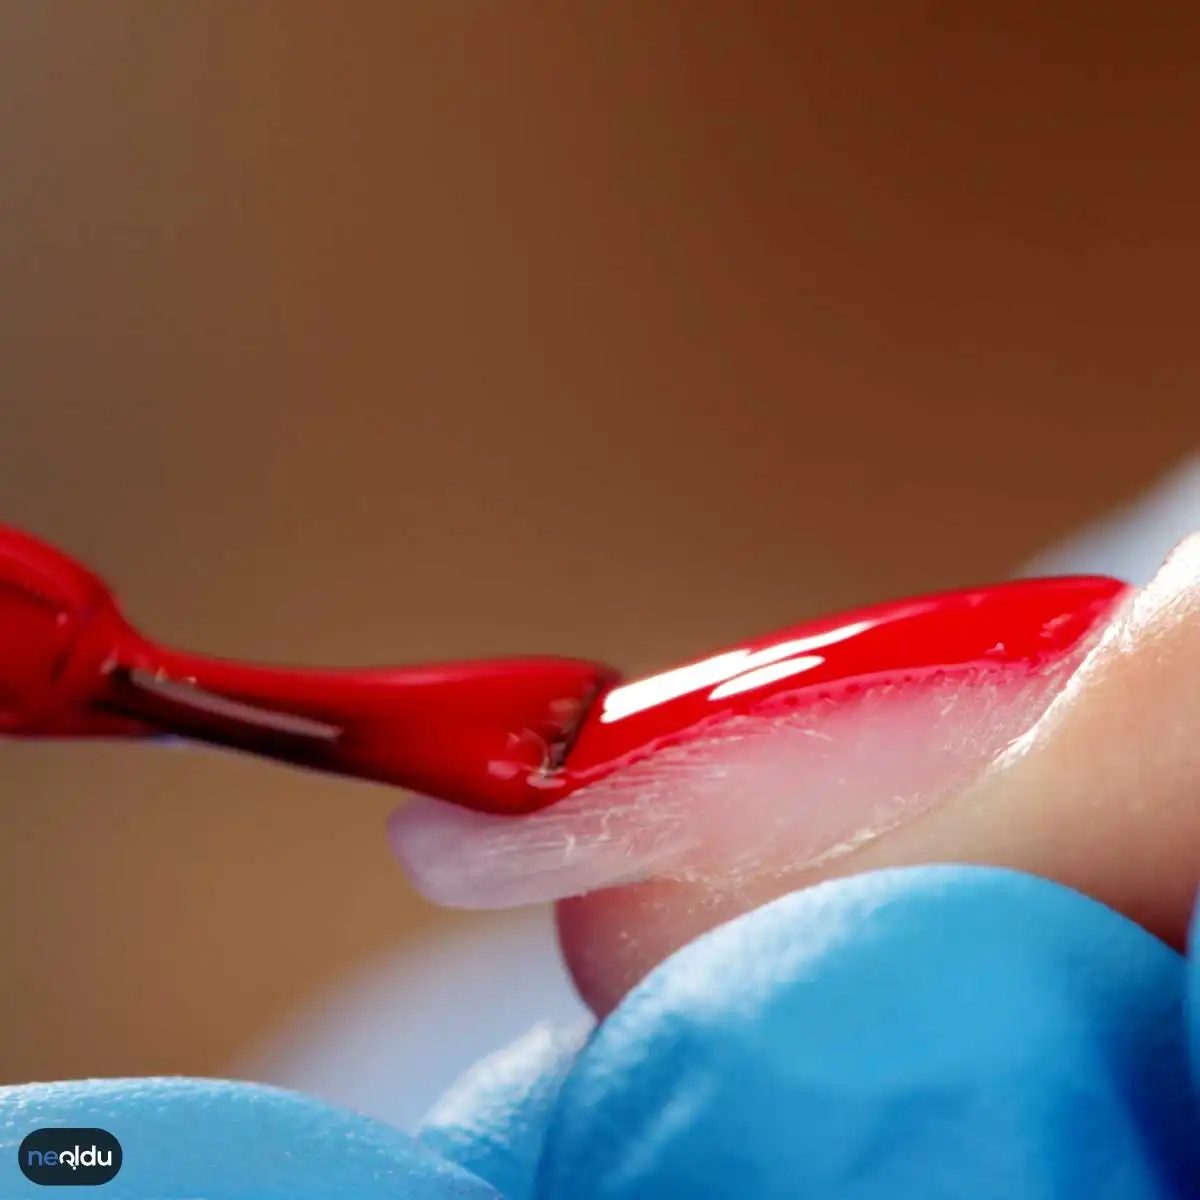
Magnetic nail polish is not just a hobby anymore. The secret of those metallic, alien aesthetic nails that you often see especially in Instagram and TikTok feeds is hidden in these products. But just applying paint and passing is half the job. Without the right pattern, the right permanence and the right technique, the nail polish will peel off in two days or the pattern will remain unclear.
In this article, I have compiled tips for applying magnetic nail polish, steps to increase its permanence, and things you should pay attention to. If you are ready, let’s get started.
Nail Prep: The Key to Failed Applications
The first rule in magnetic nail polish: Cleaning. The magnet effect will not work if there is oil or old nail polish residue on your nails. Nail polish does not stick.
- Shape Nails: File first. The edges should be smooth.
- Smooth the Surface: Seal the nail base with a base polish. This step not only adheres the nail polish to the nail, but also ensures that the magnetic pigments spread more evenly.
- It Must Be Dry: Magnetic nail polish should never be applied to damp nails.
80% of the failure in magnetic nail polishes is due to starting unprepared.
Magnetic Nail Polish Applying Technique: Step by Step Application
Magnetic nail polish works differently than regular nail polish. The metallic particles inside are moved by a magnetic rod. That’s why the method of application is critical.
Step 1: Shake the Bottle
Pigments in magnetic nail polishes may settle to the base. Shake the bottle well for at least 10-15 seconds before applying. This is essential for the pigments to be distributed evenly.
Step 2: Apply Thin Layer
Do not apply nail polish thickly. Thick layers take longer to dry and result in loss of pattern clarity. Put a small drop in the middle of the nail and spread it in a thin layer towards the edges.
* Tip: The first layer may look a little dark. This is normal. The clarity of the pattern increases with the second layer.
Step 3: Using the Magnetic Wand (The Most Important Part)
You should take action as soon as you apply the nail polish. Before the nail polish dries (usually within 3-5 seconds), hold the magnetic stick just above the nail, but without touching it.
* Distance: Between rod and nail
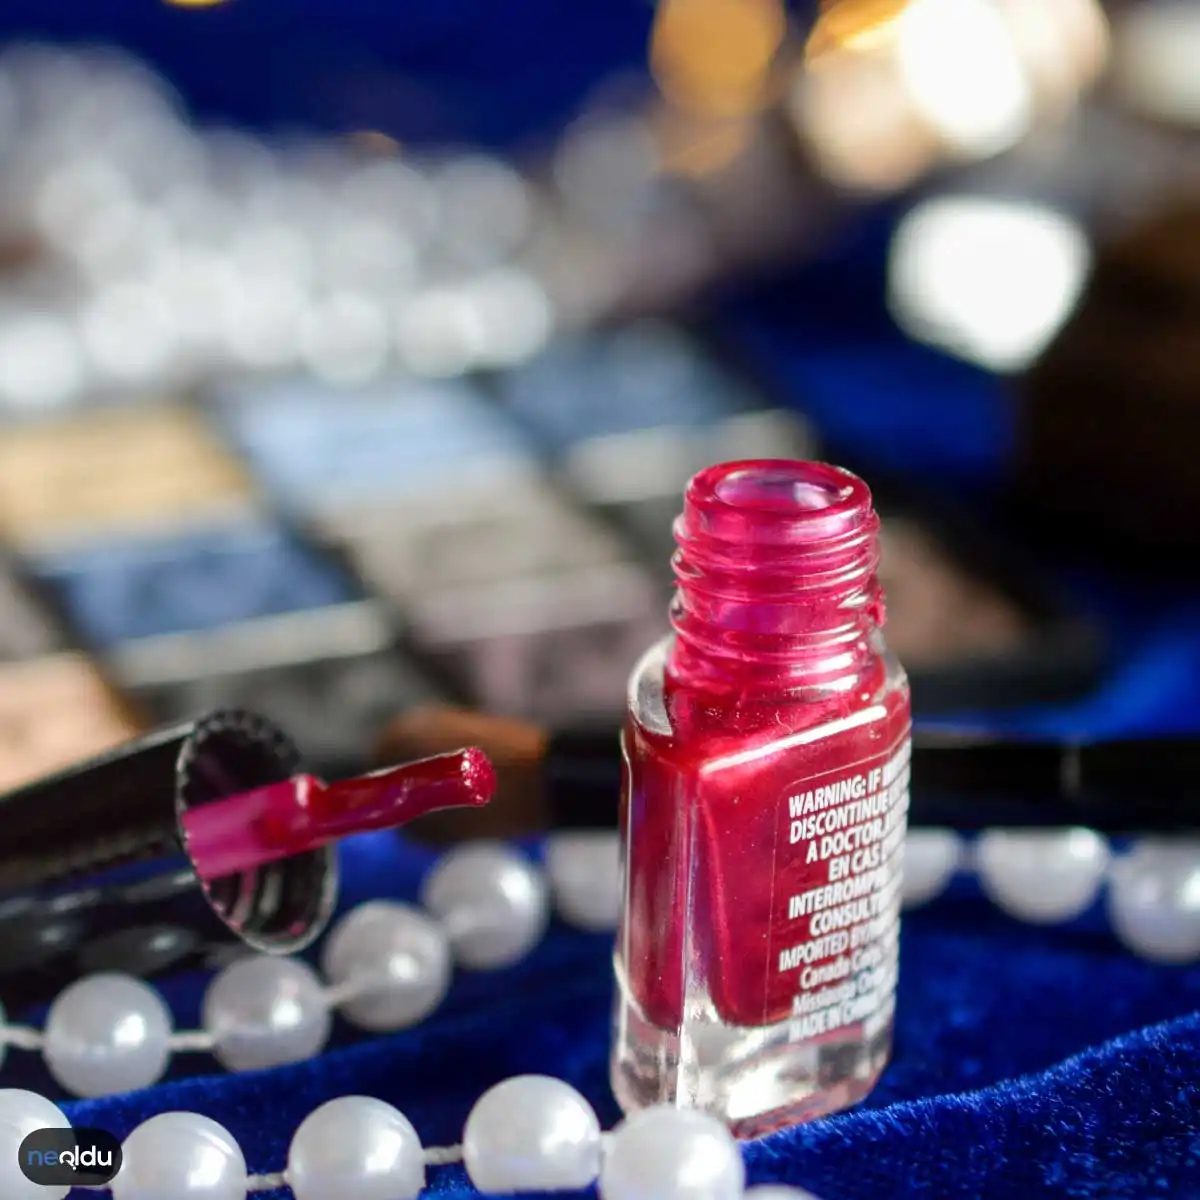
Why Magnetic Polish Stays Put
Magnetic polish isn’t just a trend; It’s a chemistry lesson in a bottle. The secret lies in the metallic particles suspended within the formula. When you apply it, those particles are loose. But bring a magnet close, and they snap into alignment.
The durability of magnetic nail art depends less on the magnet and more on how you prep and seal the look.
You might notice the design holding strong for days. That’s the magnetic pull working hard. But if you want it to last longer than a weekend, you have to manage the application. It’s not just about the magnet. It’s about the base. It’s about the top coat.
How to Make It Last Longer
Most people skip the preparation. They apply the polish, swipe the magnet, and call it a day. This is where mistakes happen. If you want professional results at home, you need to be meticulous.
Start with clean nails. Remove all oils and old residue. Then, apply a base coat. Let it dry completely. Don’t rush this step. Rushing leads to chipping.
Apply the magnetic polish in thin layers. Thick layers take longer to dry and are prone to bubbling. Once the color is on, bring your magnet close. Hold it steady. Let the particles arrange themselves into those coveted lines or cats-eye effects.
Finally, seal it with a top coat. This protects against UV light and physical impact. Avoid extreme heat. Don’t soak your hands in hot water immediately. Give it time to cure fully.
What’s Inside the Bottle?
Understanding the ingredients helps you choose better products. Magnetic polishes aren’t basic nail lacquer. They contain specific components that make the magic possible.
- Metallic pigments: These create the shimmer and the reaction.
- Magnetic particles: Usually iron oxide or similar compounds that respond to the magnet.
- Solvents: Keep the formula liquid until application.
- Binders: Help the polish adhere to the nail plate.
- Colorants: Provide the base hue.
A Simple Application Guide
You don’t need a salon experience to get this right. The process is straightforward once you know the steps.
- Prep: Clean and shape your nails. Push back cuticles.
- Base: Apply a clear base coat. Wait for it to dry.
- Color: Apply a thin layer of magnetic polish.
- Magnetize: Hover your magnet over the wet nail. Hold for a few seconds.
- Seal: Apply a high-quality top coat to lock in the design and prevent matting.
Which Magnet Should You Use?
Not all magnets are created equal. The strength matters. A weak magnet won’t pull the particles far enough to create a distinct design. A strong magnet might pull them too aggressively, causing streaks.
Look for specialized magnetic wands that come with high-end polish brands. They are calibrated for the specific particle size in the formula. Generic magnets can work, but you might need to experiment with distance and angle.
The goal is in control. You want to guide the particles, do not force them. Once you find the right distance, the lines will appear sharp and clean. It’s a bit like tuning an instrument. You adjust until the sound is right. For